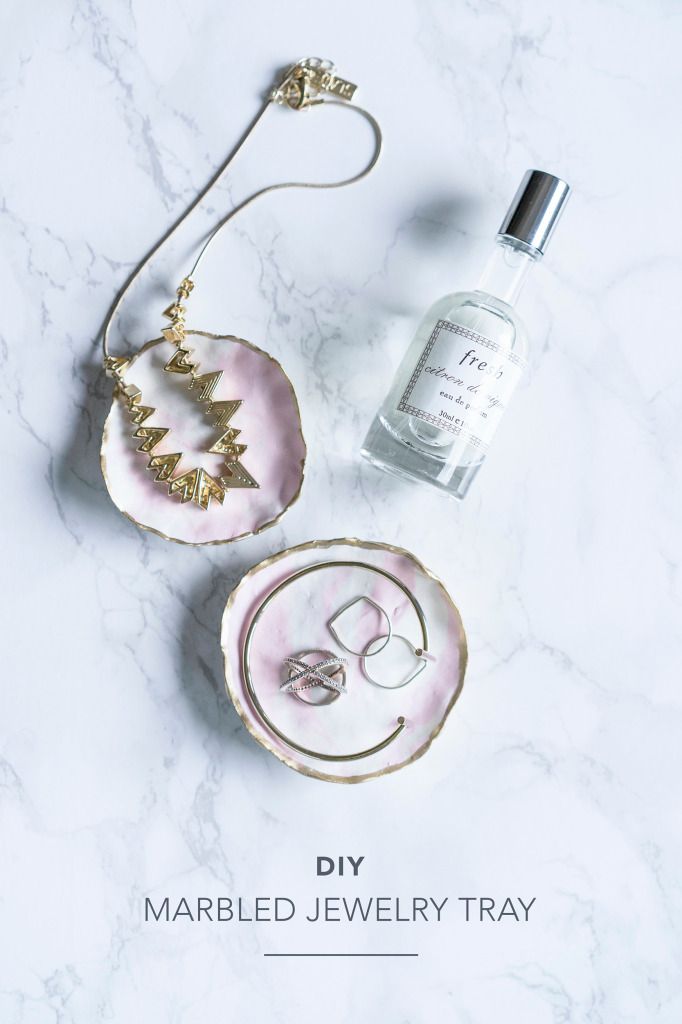
I love DIY, but I'm usually too lazy (and busy) to go find materials and test things out. Somehow I feel like my hands aren't dainty enough to create things out of scratch. So we teamed up with Brit+Co and Rocksbox to bring you this awesome DIY: the Marbled Jewelry Tray Kit. Grab a kit for yourself and keep scrolling to see how we put these pretty marbled trays together! It's super easy!
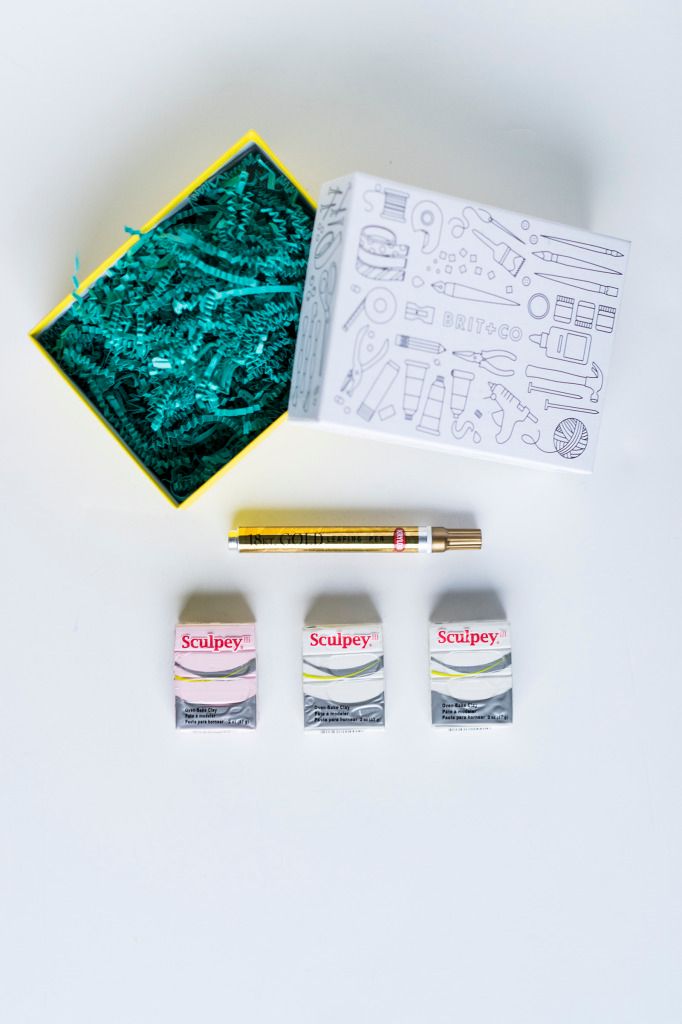
Materials
white oven-bake clay
colorful oven-bake clay
gold paint pen
(easy as that – all three are included in the Brit kit!)
Tools (not included in kit)
Butter knife
Baking Tray
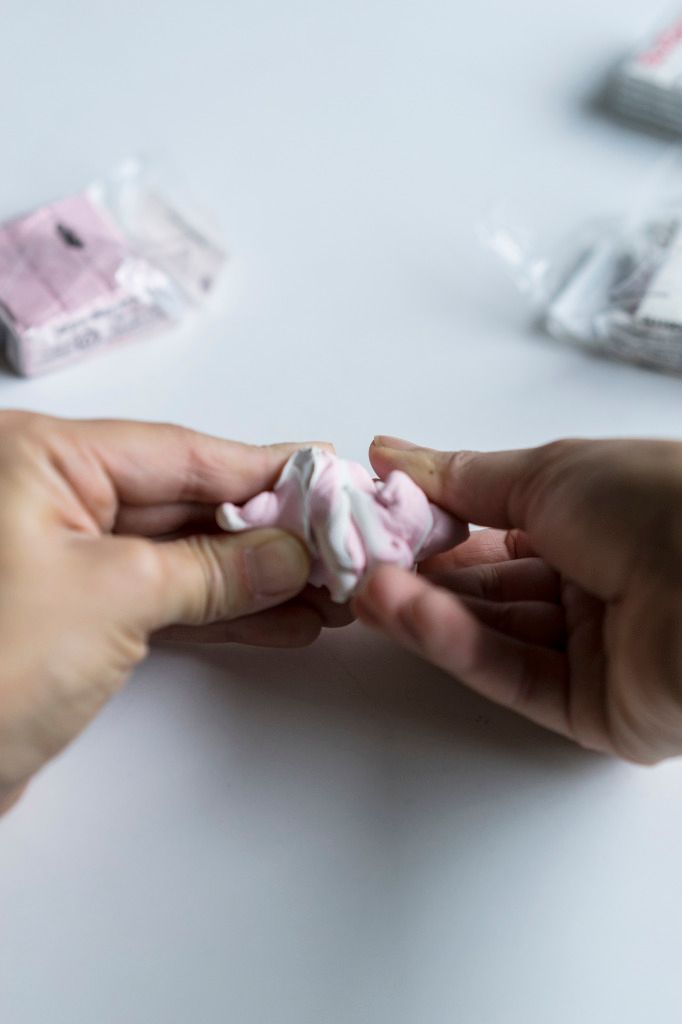
Break off one section of white and one section of colored clay and twist them around each other.
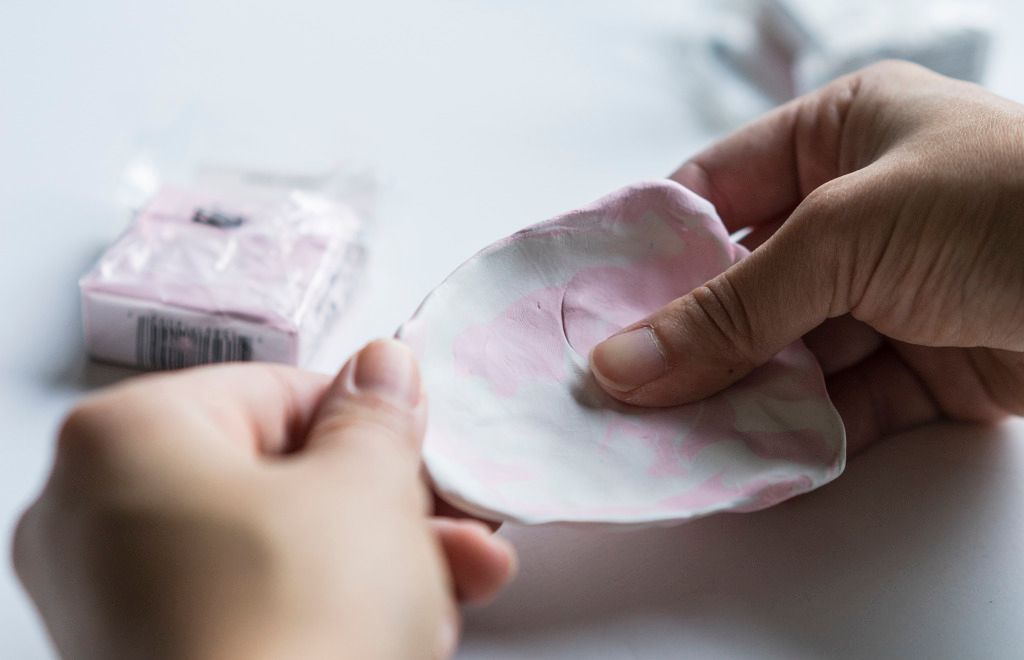
Keep twisting and kneading your clay until you have an evenly dispersed, marbled pattern and flatten it into a circle measuring about three inches in diameter.
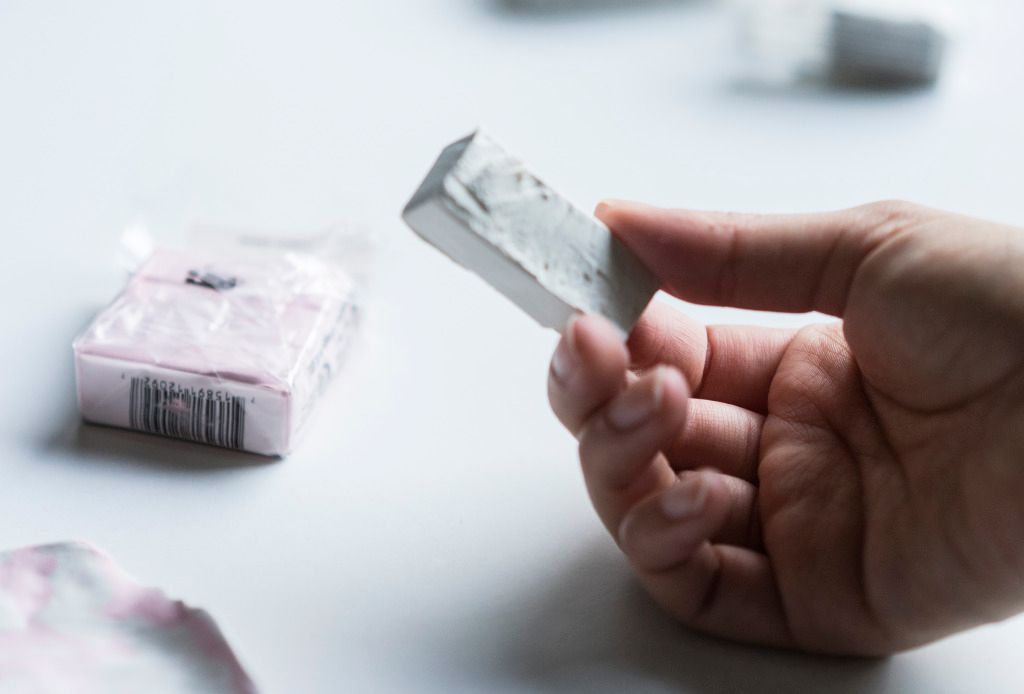
Grab one more section of white clay, flatten it into another circle of about the same size and layer it underneath your marbled circle.
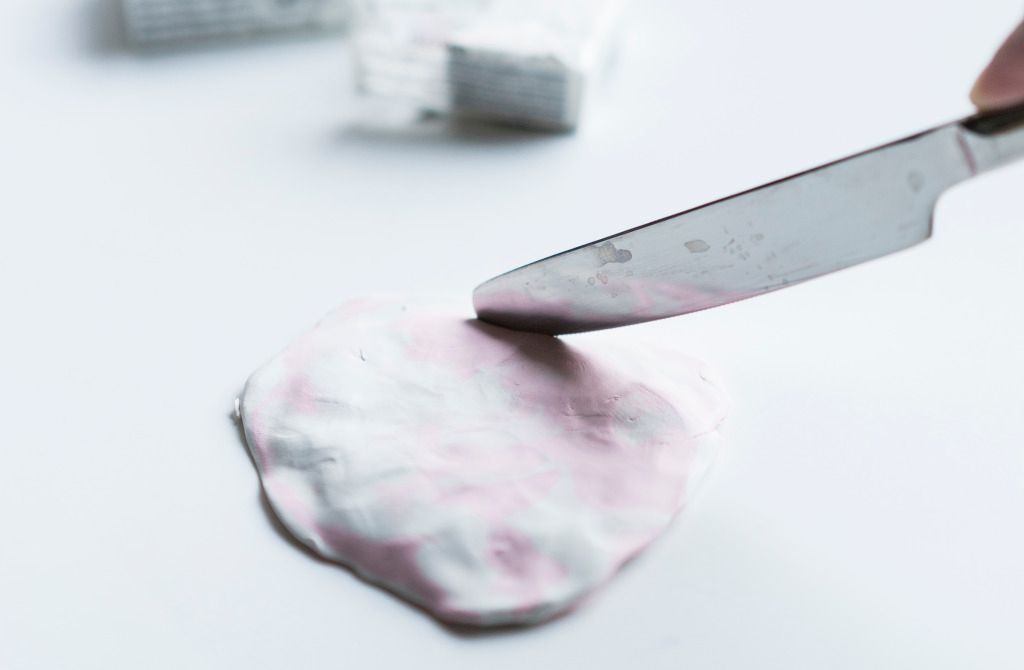
Using a butter knife, carefully trim off the uneven edges of your two-layer clay circle and then pinch the edges of your clay circle upwards so that it forms a lip all the way around.
Repeat for your second larger tray, using two white sections plus two pink sections for the marbled layer and two white sections for the white bottom layer, and bake in a 275º Fahrenheit oven for about 25 minutes.
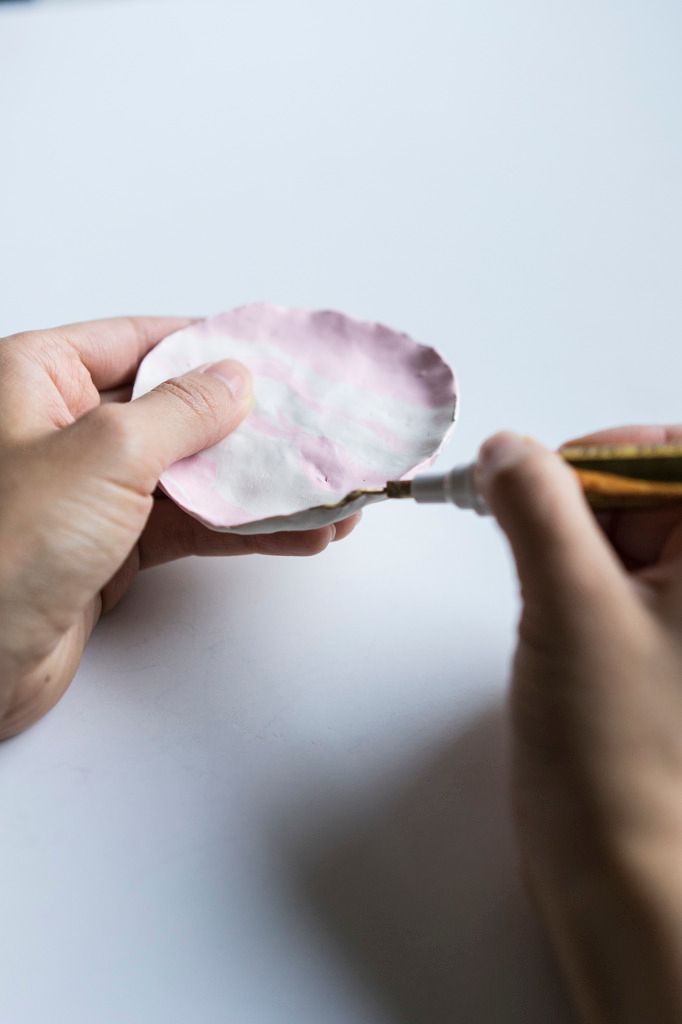
Once cooled, paint the edges of each tray with your gold paint pen.
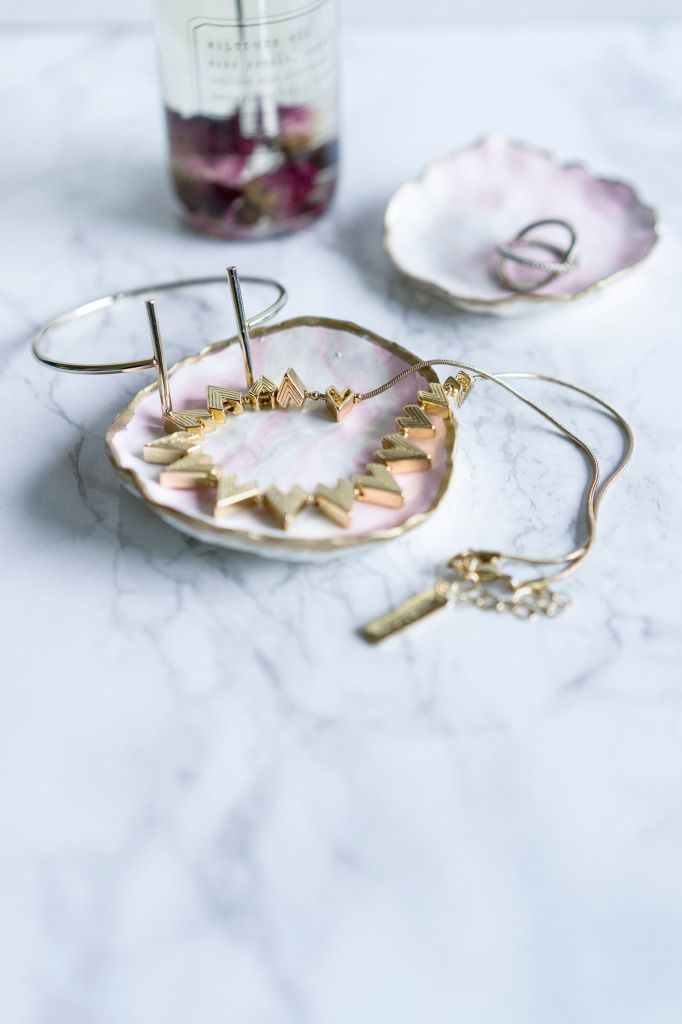
Tada!
Which color will you choose? Make your own set of here!


