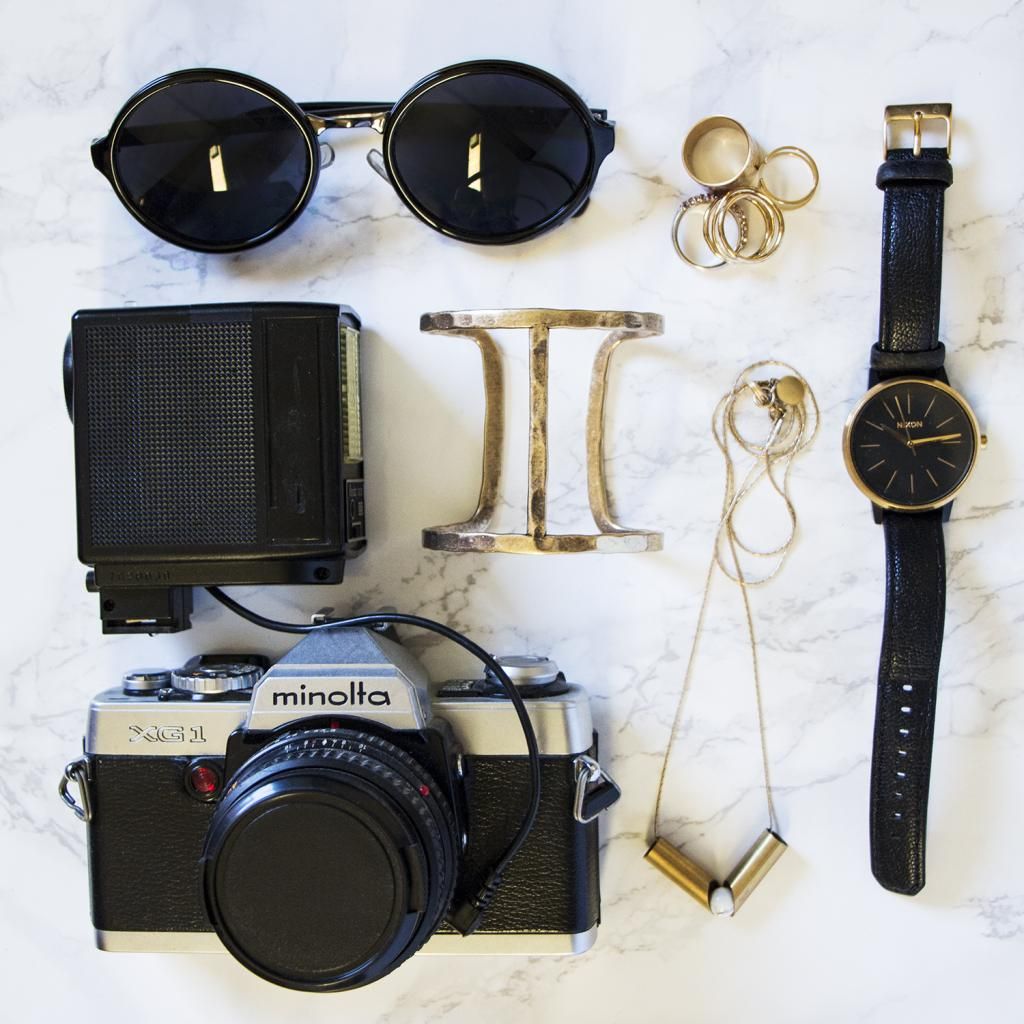
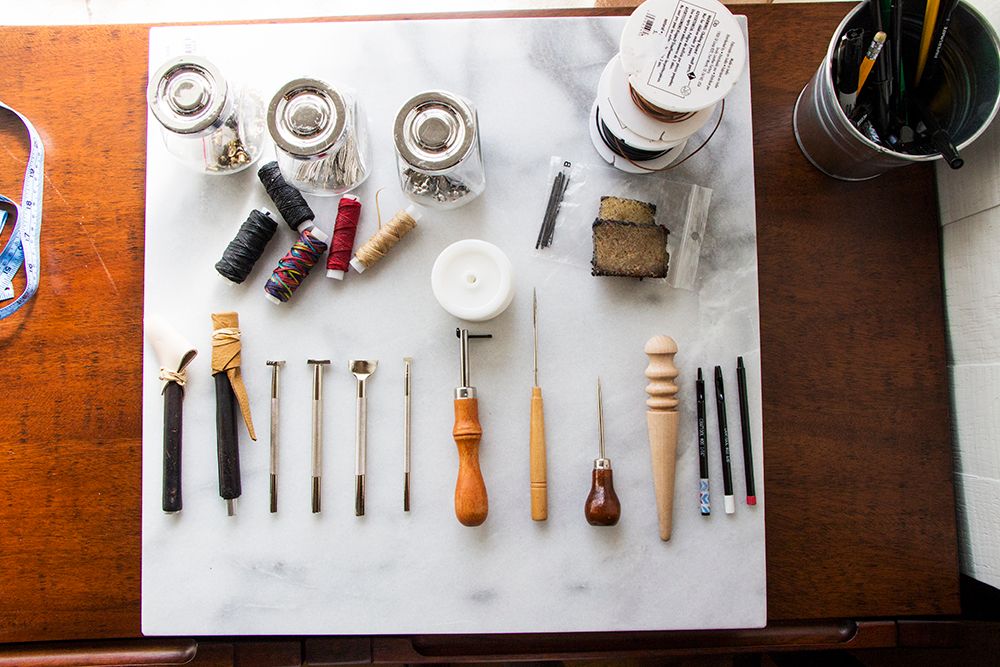
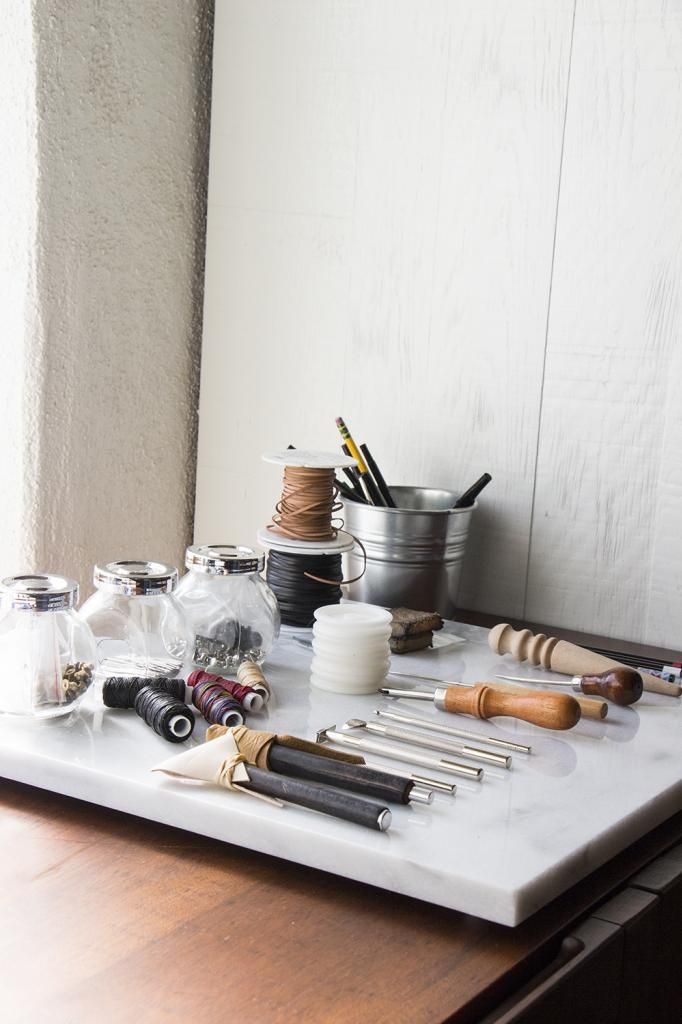
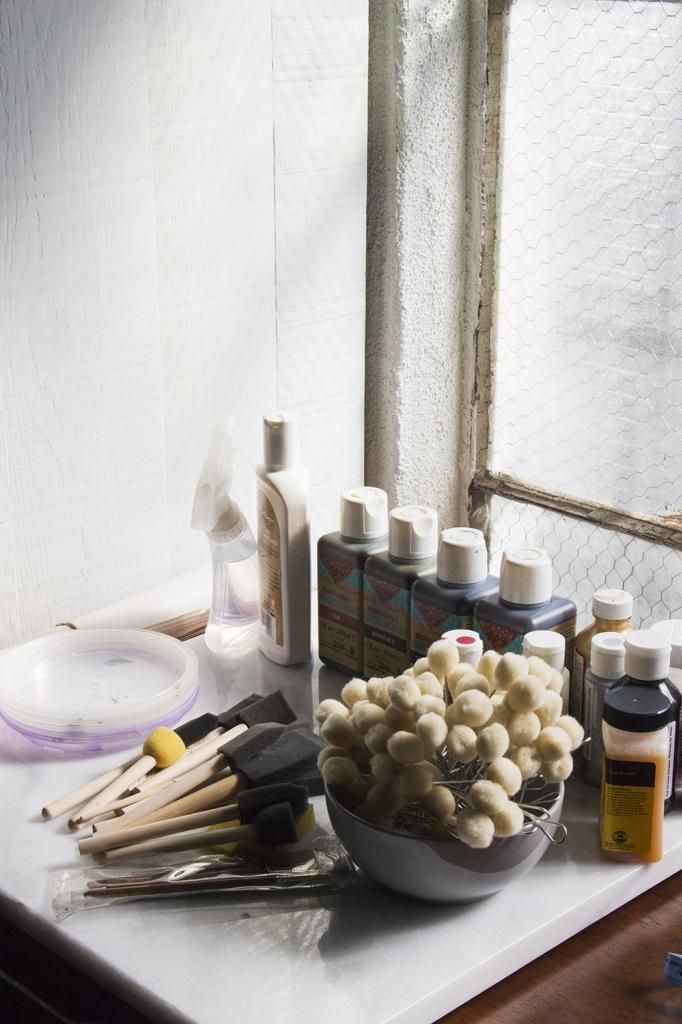
DIY: Marble Background

what you need:
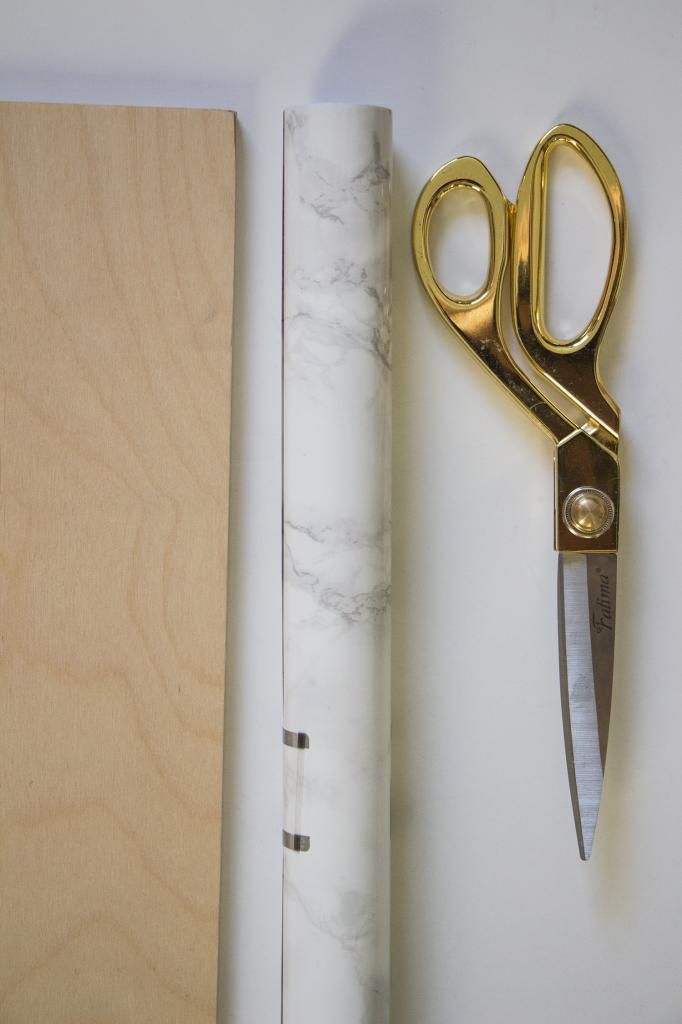
a wood board - Plywood Sheet-12"X12"X1/8" 

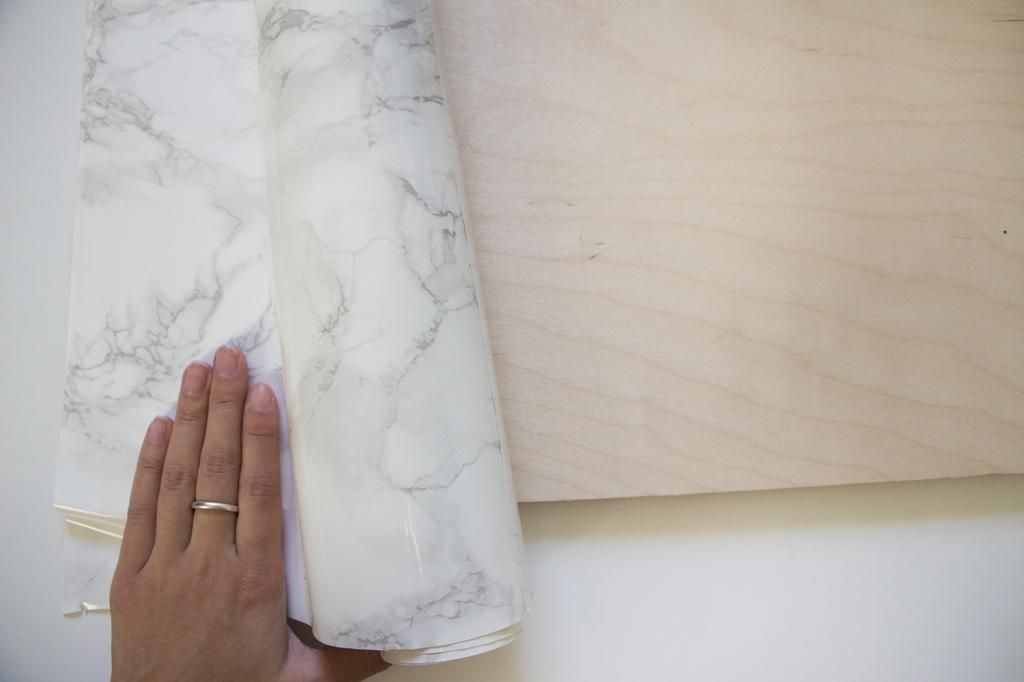
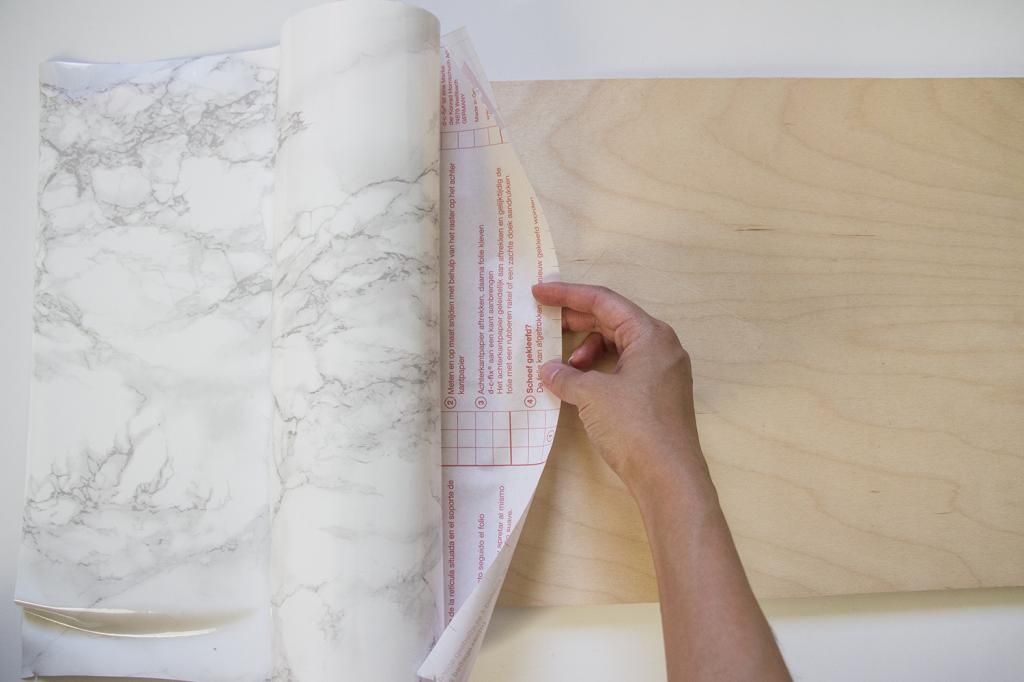
Remove one side of the protector and stick the marble paper onto the wooden board. 
Be sure to flatten the sheet and align the edges with the wooden board. Pull the bottom sheet slowly, while running your hand against the marble paper to smoothen and stick the paper onto the board.
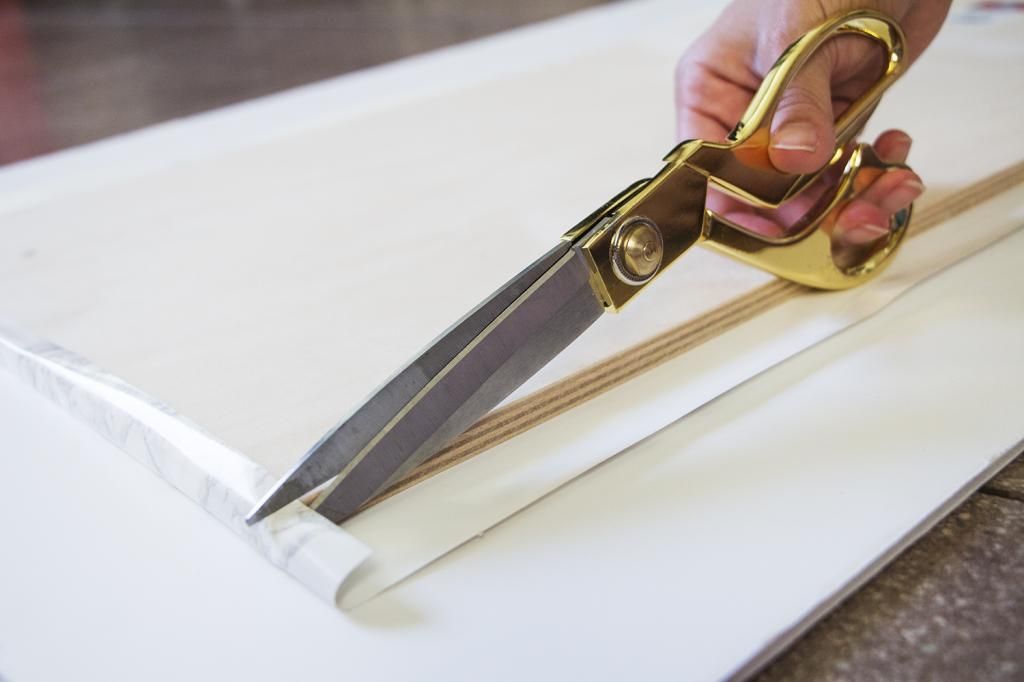
Once the marble paper is covering the whole wood board, turn it around and cut the edges to fold down. 
Wrap the marble paper over. I put tape on the back to make sure the corners would stay down. 
Voila! You can even use this contact paper to cover pencils, table, and even walls!
inspired by a pair and a spare

Leather Clutch DIY Workshop

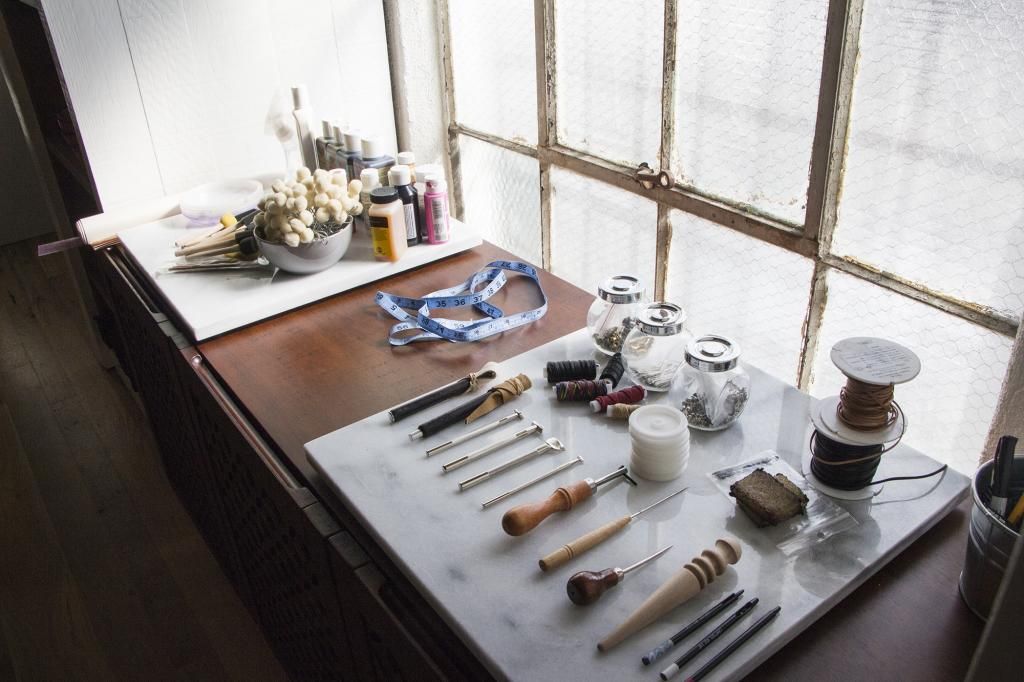
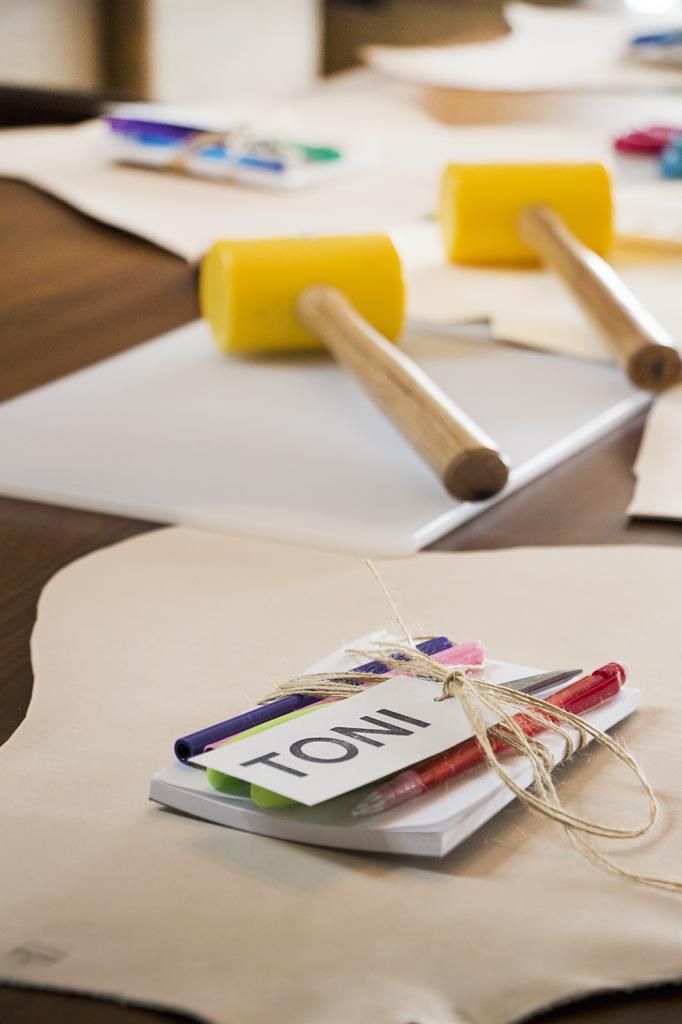
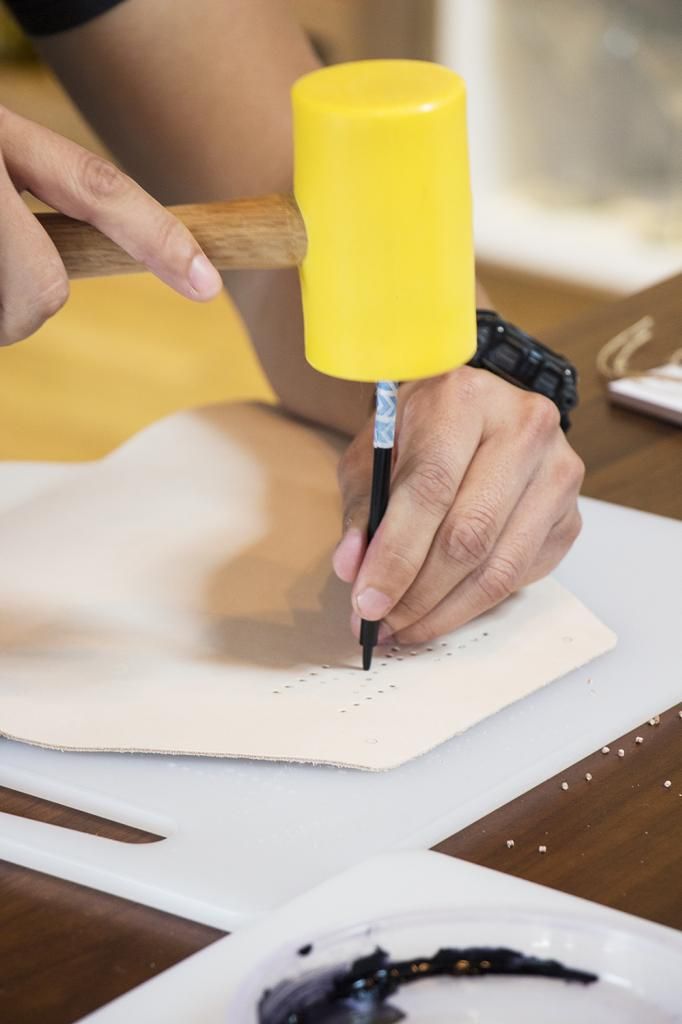
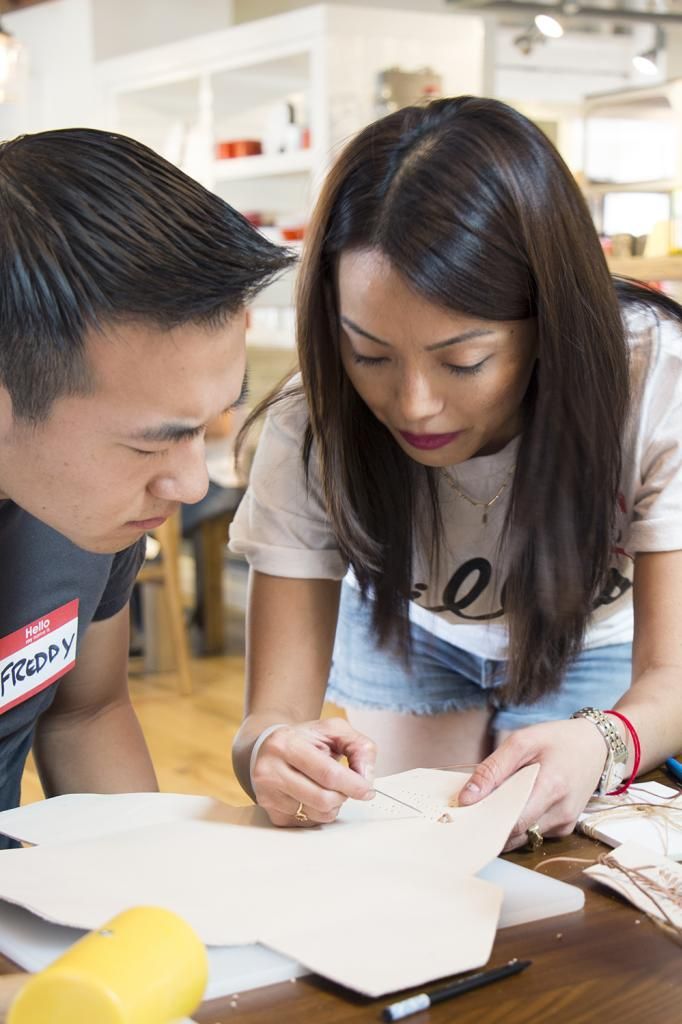
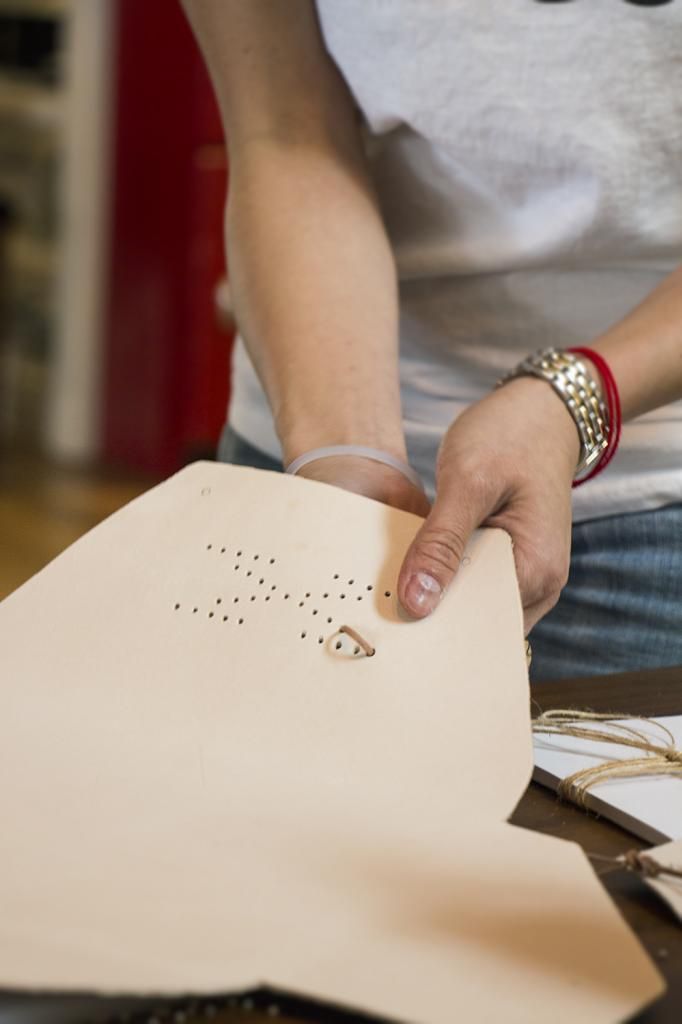
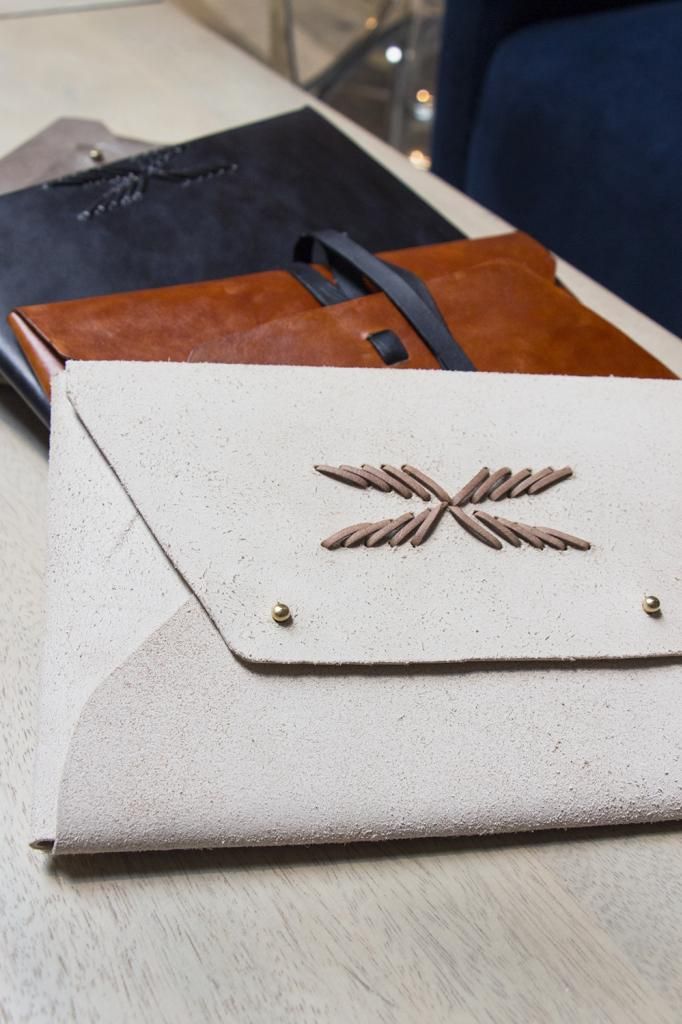
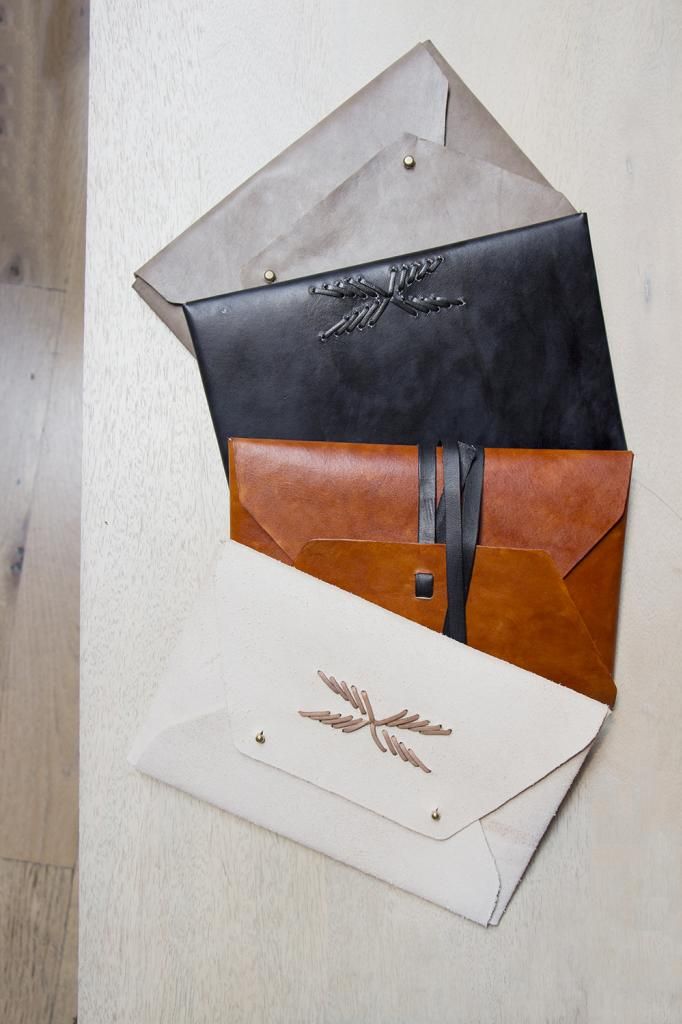
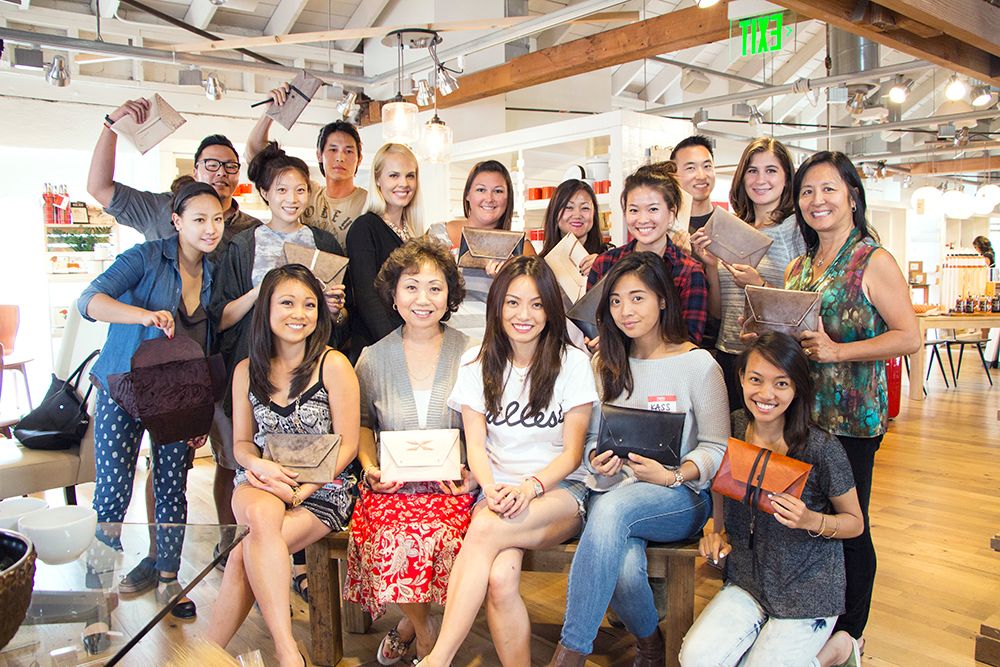
Had a wonderful time at the West Elm workshop hosted by Toni! We learned how to handle, stain, weave and stencil on leather and made ourselves an awesome leather clutch! I'm totally obsessed and now I just want to make more bags! If you've always wondered how they make leather goods, this is a great start to satisfy your curiosity! You can follow Toni and see when her next upcoming workshops are!
Tada!
Follow Toni on instagram and check out her site here!

five minutes with Tricia Ling

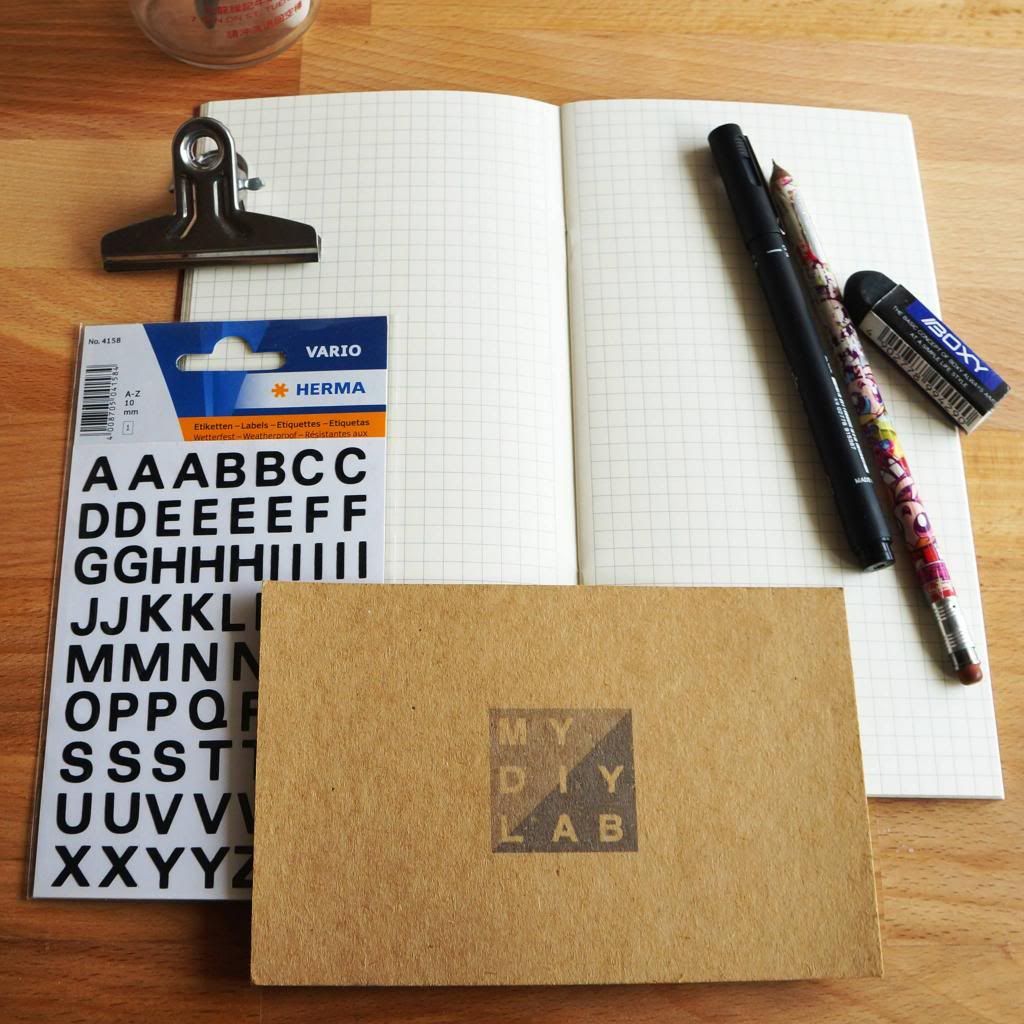
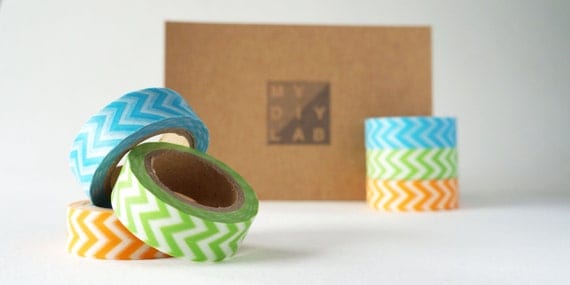
Super excited to introduce Tricia Ling of mydiylab - our newest sponsor of Hey Yeh! I met Tricia in college at a dumpling making party ..of course haha.. and immediately bonded over the love for our hometown, design, parties and food. We ended up hosting many events and parties together and kept in touch after college! I've been super inspired by her entrepreneurial spirit and her energy to continuously learn. 

Read on to spend 5 minutes with Tricia to find out what cool stuff she's doing and get the 20% off discount code below for some awesome goodies from her store!
My name is Tricia, and I am from Hong Kong. I graduated from Syracuse University with an Interior Design degree. After I graduated, I moved back home and worked at a vintage shop that focuses on mid-century design. I decided to quit to run an online craft supply shop called mydiylab full time.

What was it like to quit your job and start your own company? 
It was scary quitting my job. It was lurking around my mind for a while when I was still working, but you know how it is when you have a full time job. It's easy to just keep putting things off. So when I finally decided to quit, opening the shop became my first priority.
What were some things you were nervous about?
I was nervous about everything - like if I'm good enough, if I priced everything right, if the photos look OK… literally everything. The final push was when my boyfriend bought me a new mac book air to show his full support. I knew I had to start.

Before I started, I did a lot of reading. I read a couple of books about selling on etsy, and many blogs on running an online shop. Those really helped me guide my way and give me a starting point.
What is your goal for mydiylab?
I want to be able to bring a well-curated DIY supply store to my customers with a friendly price. I want my products to look modern, sharp and strong. Ultimately, I want to work from home and be able to juggle family and work life. 
What are you working on now?
In regards to mydiylab, I am expanding the collection to more than just paper products. I've been contacting a lot of vendors to test out new products and I am starting my own line of supplies. 

I've also been looking for another creative outlet outside of running the shop, and recently discovered my love for web coding. I dived in head first, and am getting better at it!
Do you have any advice for people who want to start an online shop or go freelance?
I just want to say to anyone who is thinking about it, it sounds a lot scarier than it is. There is never a better time than now. You will never be more ready than you are now.

The first leap is always difficult, so you can ease into it by starting at your full time job. Once you have a steady stream of customers and you are ready for irregular income, do it.

Use Discount Code: heyyeh at checkout for 20% off at mydiylab!

DIY: Hand Painted Cloth Napkins

Some of my kitchenware inspirations come from Etsy, West Elm, and Fancy. And I stumbled upon some super cute napkin designs for entertaining. But since I don't do that very often, I decided to come up with a super easy way to make them on my own!

All you need is...
Cloth Napkins (I bought mine from Target RE Pack of 10)
Martha Stewart Multi-Surface Paint (Joann's)
Masking Tape (or this kind which is better)
Paint brush
and something to cover your table with (newspaper.. etc)

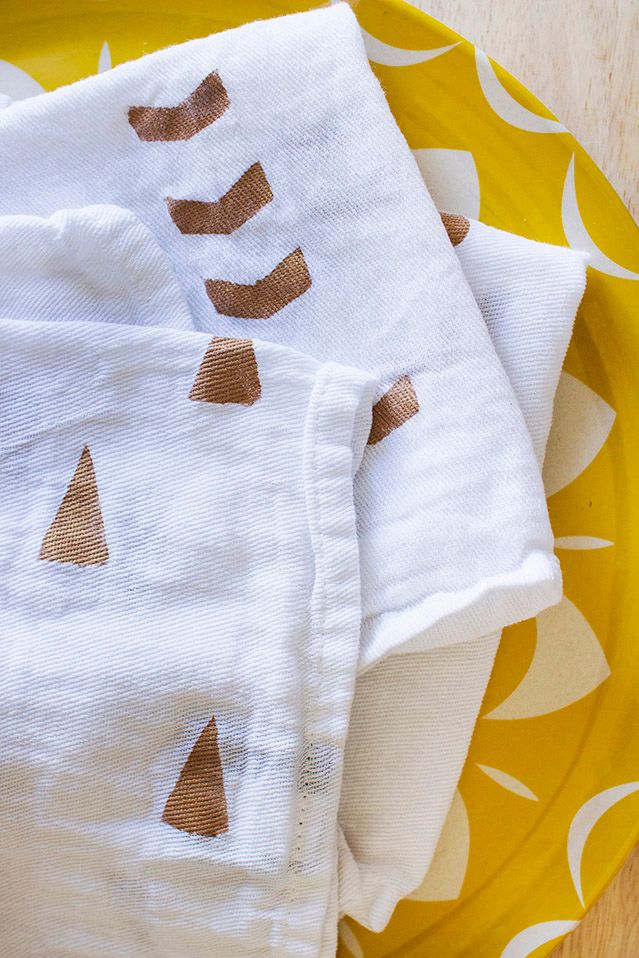
For these napkins, I've decided to use the Metallic color. 
With the masking tape, create any shape you want with and press in the inner sides so the pain doesn't leak. Then paint!

I decided not to put too much paint on it because I like the washed out look :)
For the circle pattern, I used an almost done Chapstick that I was ready to throw away and dipped it into the paint.
Since I used fabric paint, these napkins are washing machine friendly! Wash them once before using. Enjoy!!

Hallo Halloween

Halloween is back again! Do you know where you're going, what you're doing and what you'll be dressing up as? We haven't given it too much thought yet but we did scope around the internet for some inspiration. Some of my favorite ones are of course the creative parents that dress their kids up. 


And our favorite gif...

Here's some of the outfits we put together in the past!
We have large boxes of costumes we've kept over the years just for occasions like these! I must say all of Court's dance costumes really came in handy! Can you tell which ones they are? 
Trish & Ed - The most creative and committed! Favorite outfit will have to go to the disco divas on the right!
Maddie got to participate last year too as Carlos, the Hangover baby!
Erin - The skeleton, the disco chick & the ultimate geek, and wonder woman. 
Court - The lazy one... To the left is zombified lara croft, and in the middle is Skrillex. Can you tell?

What will we be this year?! Wait for it.... Wait for it....